

Cutting PVC pipe is an essential skill for any DIY enthusiast or professional plumber. For a clean and precise cut, you can use various tools such as a miter saw, a utility knife, or a pipe cutter. No matter which method you choose, it’s crucial to follow specific steps to ensure safety and accuracy. This in-depth blog will guide you through the exploration of the methods of cutting PVC pipes.
Understanding PVC Pipe
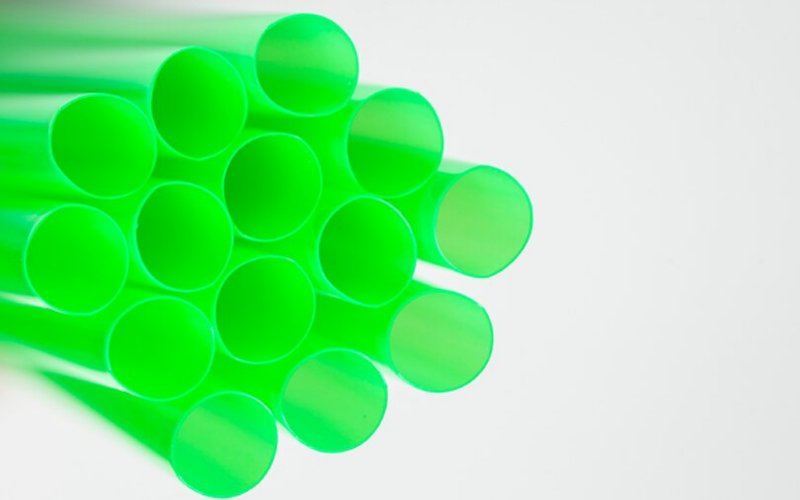
Polyvinyl Chloride (PVC) pipe is commonly used in plumbing, irrigation, and various industrial applications. It’s important to know the different types and how to accurately measure and plan for using PVC pipe.
Types of PVC Pipe
PVC pipes are available in several types, each suited for specific applications. Schedule 40 is a standard thickness pipe often used for residential and commercial plumbing. It is known for its durability and pressure resistance. There are also pipes with thicker walls, such as Schedule 80, which are used in higher pressure applications.
PVC pipes come in various sizes, which are determined by their Inner Diameter (ID) and Outer Diameter (OD). Common sizes range from 1/2 inch to 2 inches in diameter, but larger sizes are available for industrial uses. Each size has specific tolerances for the OD and ID, affecting the pipe’s capacity and flow rate.
Knowing the right type and size of PVC pipe is crucial for the specific needs of a project, whether it’s for home repairs or large-scale installations.
Measuring and Planning
Accurate measurement and planning are vital when working with PVC pipe. First, determine the required length and diameter of the pipe. Use a measuring tape to mark the pipe at the desired length. For precise cutting, it’s recommended to use a pencil to make a clear mark.
Before making cuts, consider the outer and inner diameters to ensure the pipe fits properly with other components or fittings. Using a tape measure to wrap around the pipe can also help in marking larger diameter pipes accurately.
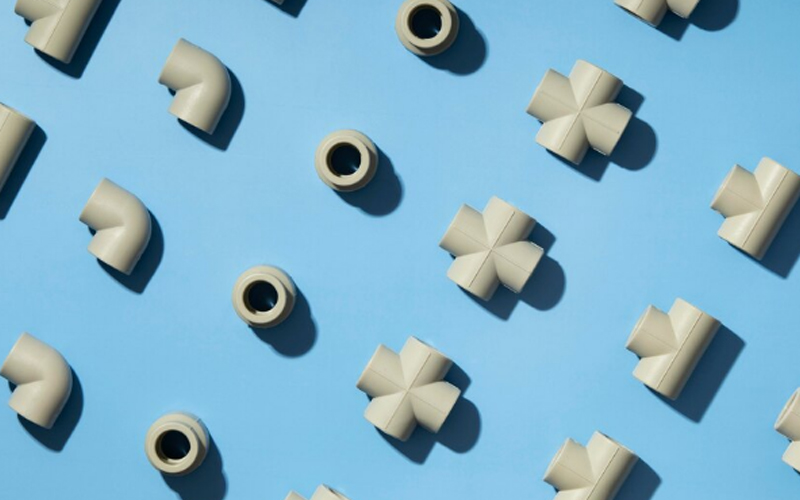
Proper planning includes accounting for all fittings, joints, and any necessary allowances for thermal expansion or contraction. By planning thoroughly, the installation process becomes smoother and more efficient.
Preparation for Cutting PVC Pipe
Proper preparation ensures a smooth, accurate cut and reduces the risk of mistakes. The key aspects include securing the pipe firmly and making precise markings at the desired points.
Securing the Pipe
Securing the PVC pipe before cutting is critical to ensure stability and safety. A workbench or similar sturdy surface is ideal for this task.
A vise is an invaluable tool for clamping the pipe securely. If a vise is not available, the pipe can be fixed in place using strong clamps.
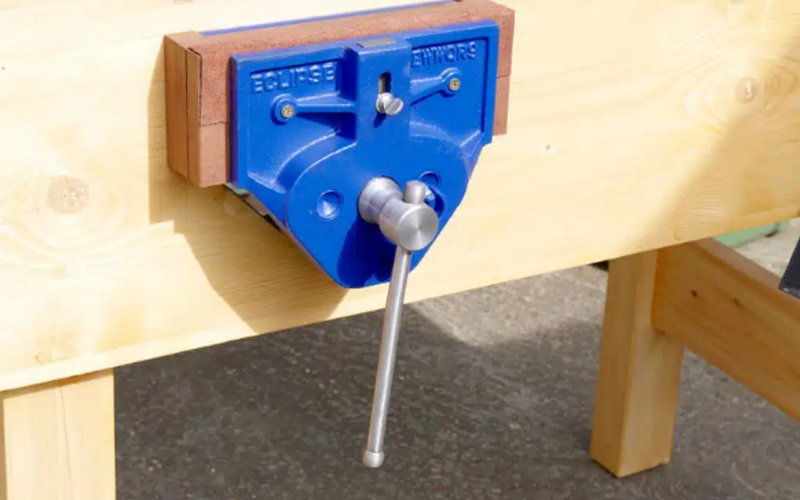
It’s important to position the pipe so that it does not move during the cutting process. This prevents uneven cuts and potential injuries.
Make sure the workbench or stand is clean and provides enough space to handle the full length of the pipe.
Marking the Cut
Accurate markings are essential for achieving a straight and precise cut on the PVC pipe.
A tape measure should be used to measure the exact length where the cut is needed. Once the measurement is confirmed, use a permanent marker to mark the cutting line clearly.
For added precision, wrap a piece of masking tape around the pipe at the mark, ensuring it lines up evenly. This can act as a guide for cutting straight.
Double-check the measurements and alignment before proceeding to cut.
Cutting PVC Pipe
Properly cutting PVC pipe is crucial to ensure smooth connections and prevent leaks. Various methods can be used based on the pipe size and the tools available. Below, specific techniques for cutting PVC pipe are discussed in detail.
Making a Straight Cut by Hand
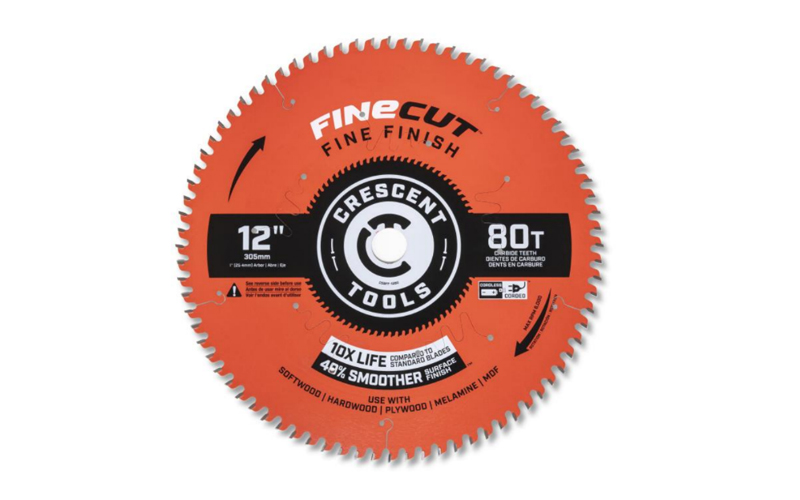
To achieve a straight cut by hand, first, mark the cut line using a pencil or marker. Secure the pipe firmly in place using a clamp or vise. Use a fine-toothed blade for a cleaner cut. Hold the saw at a right angle to the pipe and use a back-and-forth motion.
Rotating the pipe slightly as you cut can help ensure a straight line. After cutting, remove burrs by sanding the inner and outer edges with medium-grit sandpaper. This step prevents debris from contaminating your connections.
Techniques for Smaller Diameter Pipes
For pipes with a smaller diameter, such as those used in household plumbing, a ratchet-style pipe cutter is highly effective. Mark the cutting point, then place the cutter around the pipe. Squeeze the handles and rotate the cutter, tightening it periodically until the pipe is fully cut.
Another method involves using a utility knife. Score the pipe around its circumference, then snap it cleanly. Be sure to handle the blade carefully to prevent injury. Sand the edges lightly to remove any sharp burrs.
Handling Larger-Diameter Pipes
Larger-diameter pipes require different tools and techniques. A miter saw with a fine-toothed blade can provide a precise cut. Secure the pipe on a workbench using clamps to prevent movement. Wear safety gear, including eye and ear protection, to ensure safe operation. Activate the saw, and bring it down slowly to make the cut.
For pipes too large for a standard miter saw, use a reciprocating saw. Mark the cut line clearly and proceed slowly to avoid an uneven cut. As with smaller pipes, sand the edges to remove burrs and ensure a clean fitting.
By following these methods, both DIY enthusiasts and professionals can achieve efficient and precise cuts on PVC pipes. Proper preparation and careful handling are key to successful results.
The Role of PVC Stabilizers
PVC stabilizers play a crucial role in maintaining the integrity and ease of modifying PVC pipes. Specifically, they ensure that the pipe retains its mechanical properties during and after cutting.
What is PVC Stabilizer
PVC stabilizers are additives incorporated into PVC formulations to prevent degradation. When PVC is exposed to heat, especially during cutting or installation, it can degrade, leading to discoloration, loss of mechanical strength, and decreased performance. Stabilizers work by neutralizing free radicals and scavenging the heat-generated elements that cause such degradation, thus maintaining the material’s properties.
These stabilizers ensure that the quality and standards of the PVC material are preserved. Without them, PVC materials could suffer from premature wear and tear. This is especially critical in applications where long-term durability and reliability are essential.
Types of PVC Stabilizers
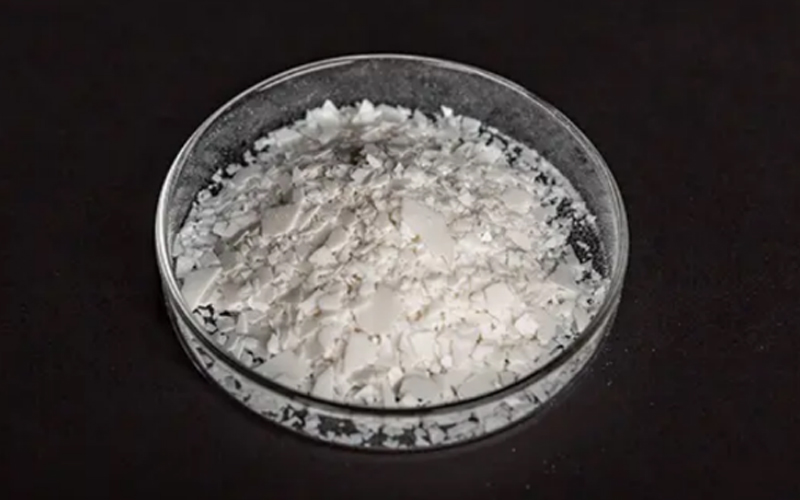
PVC stabilizers come in various formulations, each suited to specific applications. Metal-based stabilizers such as lead, calcium-zinc, and organotin compounds are among the common types.
Lead-based stabilizers offer excellent thermal stability and are often used in industrial applications. However, due to health concerns, they have seen reduced usage.
Calcium-zinc stabilizers are becoming more popular due to their non-toxic nature and good performance in most PVC products, including pipes and fittings. Its advantages are threefold: first, they provide effective heat stability, ensuring that PVC products maintain their structural integrity even under high temperatures; second, calcium-zinc stabilizers offer good weather ability, protecting PVC products from degradation caused by exposure to UV radiation, moisture, and atmospheric pollutants; third, these stabilizers enhance the mechanical properties of PVC, including impact resistance and tensile strength, making them suitable for demanding applications where durability is paramount.
Organotin stabilizers provide high transparency and are commonly employed in clear PVC products. Each type of stabilizer impacts the effectiveness and longevity of PVC in different ways. They excel in providing excellent clarity, ensuring that the final PVC products have a visually appealing appearance. This transparency is crucial for applications where aesthetics are paramount, such as in windows, packaging, and medical devices. Organotin stabilizers also offer effective heat stability, ensuring that clear PVC products maintain their structural integrity even under high temperatures.
How PVC Stabilizers Help Cut the Pipe
During the cutting process, stabilizers ensure that the PVC pipe maintains its structural integrity. When using tools such as a deburring tool or sandpaper to achieve a clean cut, stabilizers help prevent the material from weakening or becoming brittle.
A stabilized PVC pipe is easier to work with, whether performing dry-fit tests or applying primer and cement for fittings. Stabilizers also contribute to forming a watertight seal once the pipe is installed. When PVC pipes are cut lengthwise, stabilizers help in minimizing thermal degradation, ensuring a smooth and accurate cut. This not only improves the overall efficiency of the installation process but also enhances the safety and longevity of the plumbing systems.